> ## Documentation Index
> Fetch the complete documentation index at: https://docs.luklak.com/llms.txt
> Use this file to discover all available pages before exploring further.
# Workflows & Statuses: Modeling Your Business Processes
> An overview of how to model your business processes in Luklak using Workflows, which are composed of Statuses and Transitions, to represent the lifecycle of any Object.
## Why Workflows Matter
In any business, processes that exist only "in people's heads" are inconsistent, difficult to track, and impossible to automate or report on. To scale your operations, you must make your processes explicit, visual, and executable.
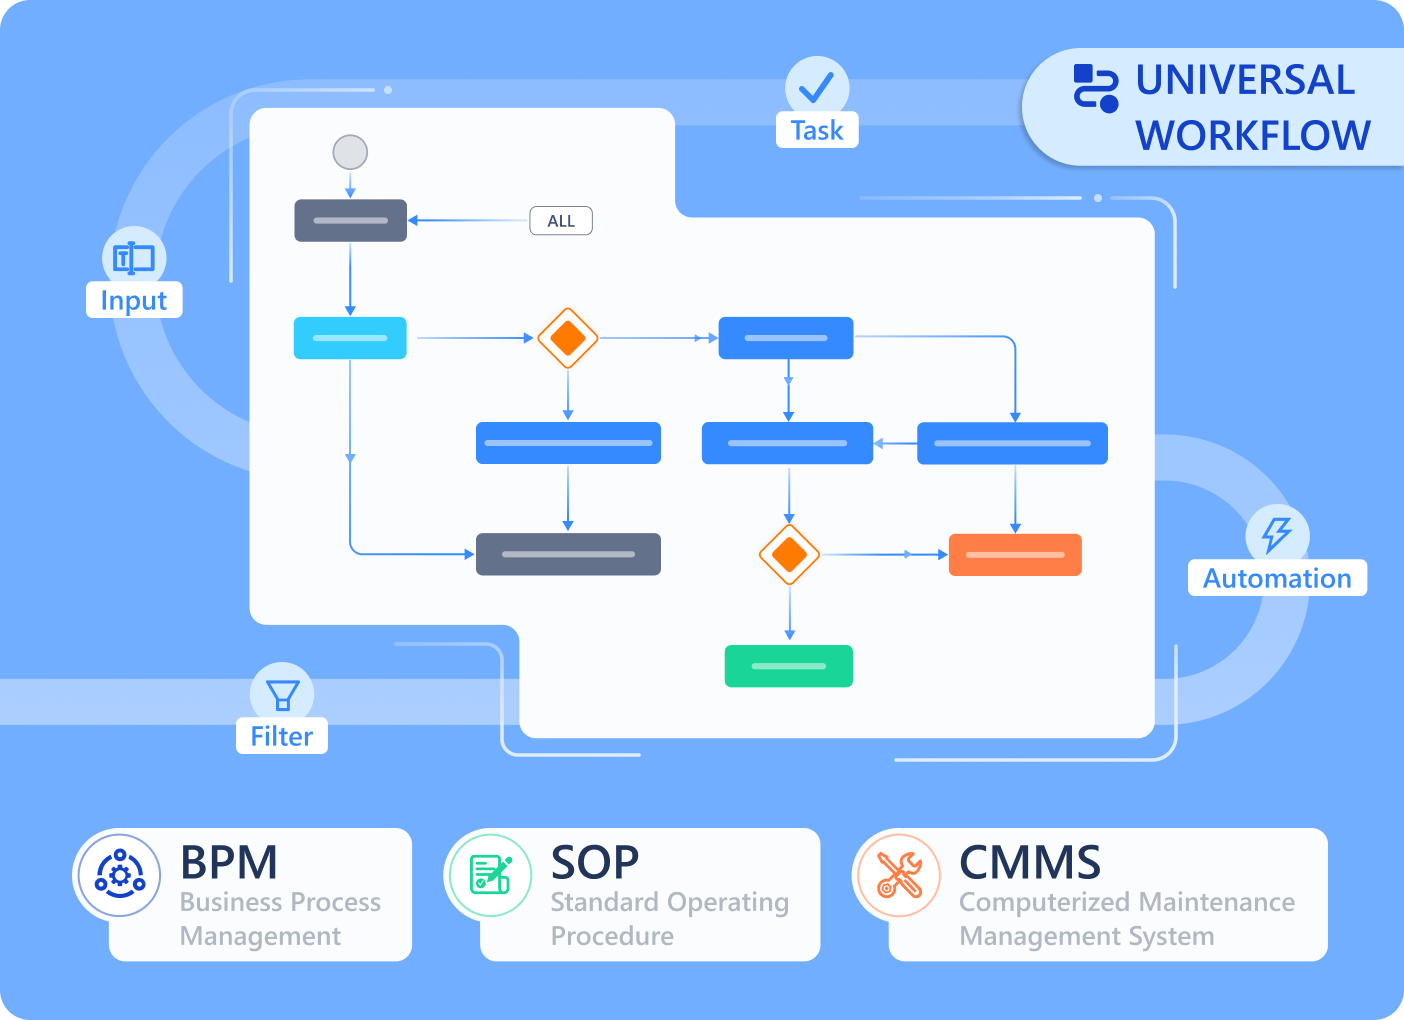 Luklak's **Workflow** engine is a powerful visual tool that allows you, the architect, to do just that. It lets you design a clear, standardized lifecycle for any `Object Type`, bringing clarity, consistency, and control to every business operation.
## The Core Components
Every `Workflow` in Luklak is built from two simple, powerful components:
A `Status` represents a specific step, stage, or state in your process. It is a snapshot in the lifecycle of an `Object`. Examples include `NEW`, `IN REVIEW`, `APPROVED`, or `COMPLETED`.
A `Transition` is the defined, one-way path between two `Statuses`. It controls how and when an `Object` can move from one step to the next, enforcing the correct order of operations.
\[Image Placeholder: A simple, elegant diagram showing three status boxes labeled 'TO DO', 'IN PROGRESS', and 'DONE', connected by two directional transition arrows.]
## How It All Fits Together
Understanding the hierarchy of these components is key to designing effective processes:
1. You first design a **`Workflow`** by arranging `Statuses` and connecting them with `Transitions`.
2. This `Workflow` is then assigned to a specific **`Object Type`** (e.g., the "Sales Deal" blueprint).
3. This design work all happens inside the canvas of a **`📋 Function`**.
4. When users create live **`Objects`** (e.g., a specific "Q4 Sales Deal") inside a `⏹️ Space`, those Objects are now bound to follow the exact workflow you designed.
By defining the process at the `Object Type` level, you ensure that every single "Sales Deal" follows the same approved sales process, guaranteeing consistency and providing reliable data for reporting and automation across the entire team.
## What's Next?
You now understand the basic concepts of modeling a process. It's time to learn how to design, configure, and leverage your workflows with our detailed guides.
* [**Start with the basics: Designing a Basic Workflow**](/en/02-platform/platform-overview/universal-workflow/designing-workflows)
* [**Understand the rules: Status Categories & Workflow Guides**](/en/02-platform/platform-overview/universal-workflow/status-categories-and-guides)
* [**Unlock advanced control: Advanced Status Settings**](/en/02-platform/platform-overview/universal-workflow/advanced-status-settings)
* [**Leverage your data: Using Workflow Data for Reporting**](/en/02-platform/platform-overview/universal-workflow/using-workflow-data)
* [**Build for scale: Managing Global Statuses**](/en/02-platform/platform-overview/universal-workflow/global-statuses)
Luklak's **Workflow** engine is a powerful visual tool that allows you, the architect, to do just that. It lets you design a clear, standardized lifecycle for any `Object Type`, bringing clarity, consistency, and control to every business operation.
## The Core Components
Every `Workflow` in Luklak is built from two simple, powerful components:
A `Status` represents a specific step, stage, or state in your process. It is a snapshot in the lifecycle of an `Object`. Examples include `NEW`, `IN REVIEW`, `APPROVED`, or `COMPLETED`.
A `Transition` is the defined, one-way path between two `Statuses`. It controls how and when an `Object` can move from one step to the next, enforcing the correct order of operations.
\[Image Placeholder: A simple, elegant diagram showing three status boxes labeled 'TO DO', 'IN PROGRESS', and 'DONE', connected by two directional transition arrows.]
## How It All Fits Together
Understanding the hierarchy of these components is key to designing effective processes:
1. You first design a **`Workflow`** by arranging `Statuses` and connecting them with `Transitions`.
2. This `Workflow` is then assigned to a specific **`Object Type`** (e.g., the "Sales Deal" blueprint).
3. This design work all happens inside the canvas of a **`📋 Function`**.
4. When users create live **`Objects`** (e.g., a specific "Q4 Sales Deal") inside a `⏹️ Space`, those Objects are now bound to follow the exact workflow you designed.
By defining the process at the `Object Type` level, you ensure that every single "Sales Deal" follows the same approved sales process, guaranteeing consistency and providing reliable data for reporting and automation across the entire team.
## What's Next?
You now understand the basic concepts of modeling a process. It's time to learn how to design, configure, and leverage your workflows with our detailed guides.
* [**Start with the basics: Designing a Basic Workflow**](/en/02-platform/platform-overview/universal-workflow/designing-workflows)
* [**Understand the rules: Status Categories & Workflow Guides**](/en/02-platform/platform-overview/universal-workflow/status-categories-and-guides)
* [**Unlock advanced control: Advanced Status Settings**](/en/02-platform/platform-overview/universal-workflow/advanced-status-settings)
* [**Leverage your data: Using Workflow Data for Reporting**](/en/02-platform/platform-overview/universal-workflow/using-workflow-data)
* [**Build for scale: Managing Global Statuses**](/en/02-platform/platform-overview/universal-workflow/global-statuses)